
Scripting
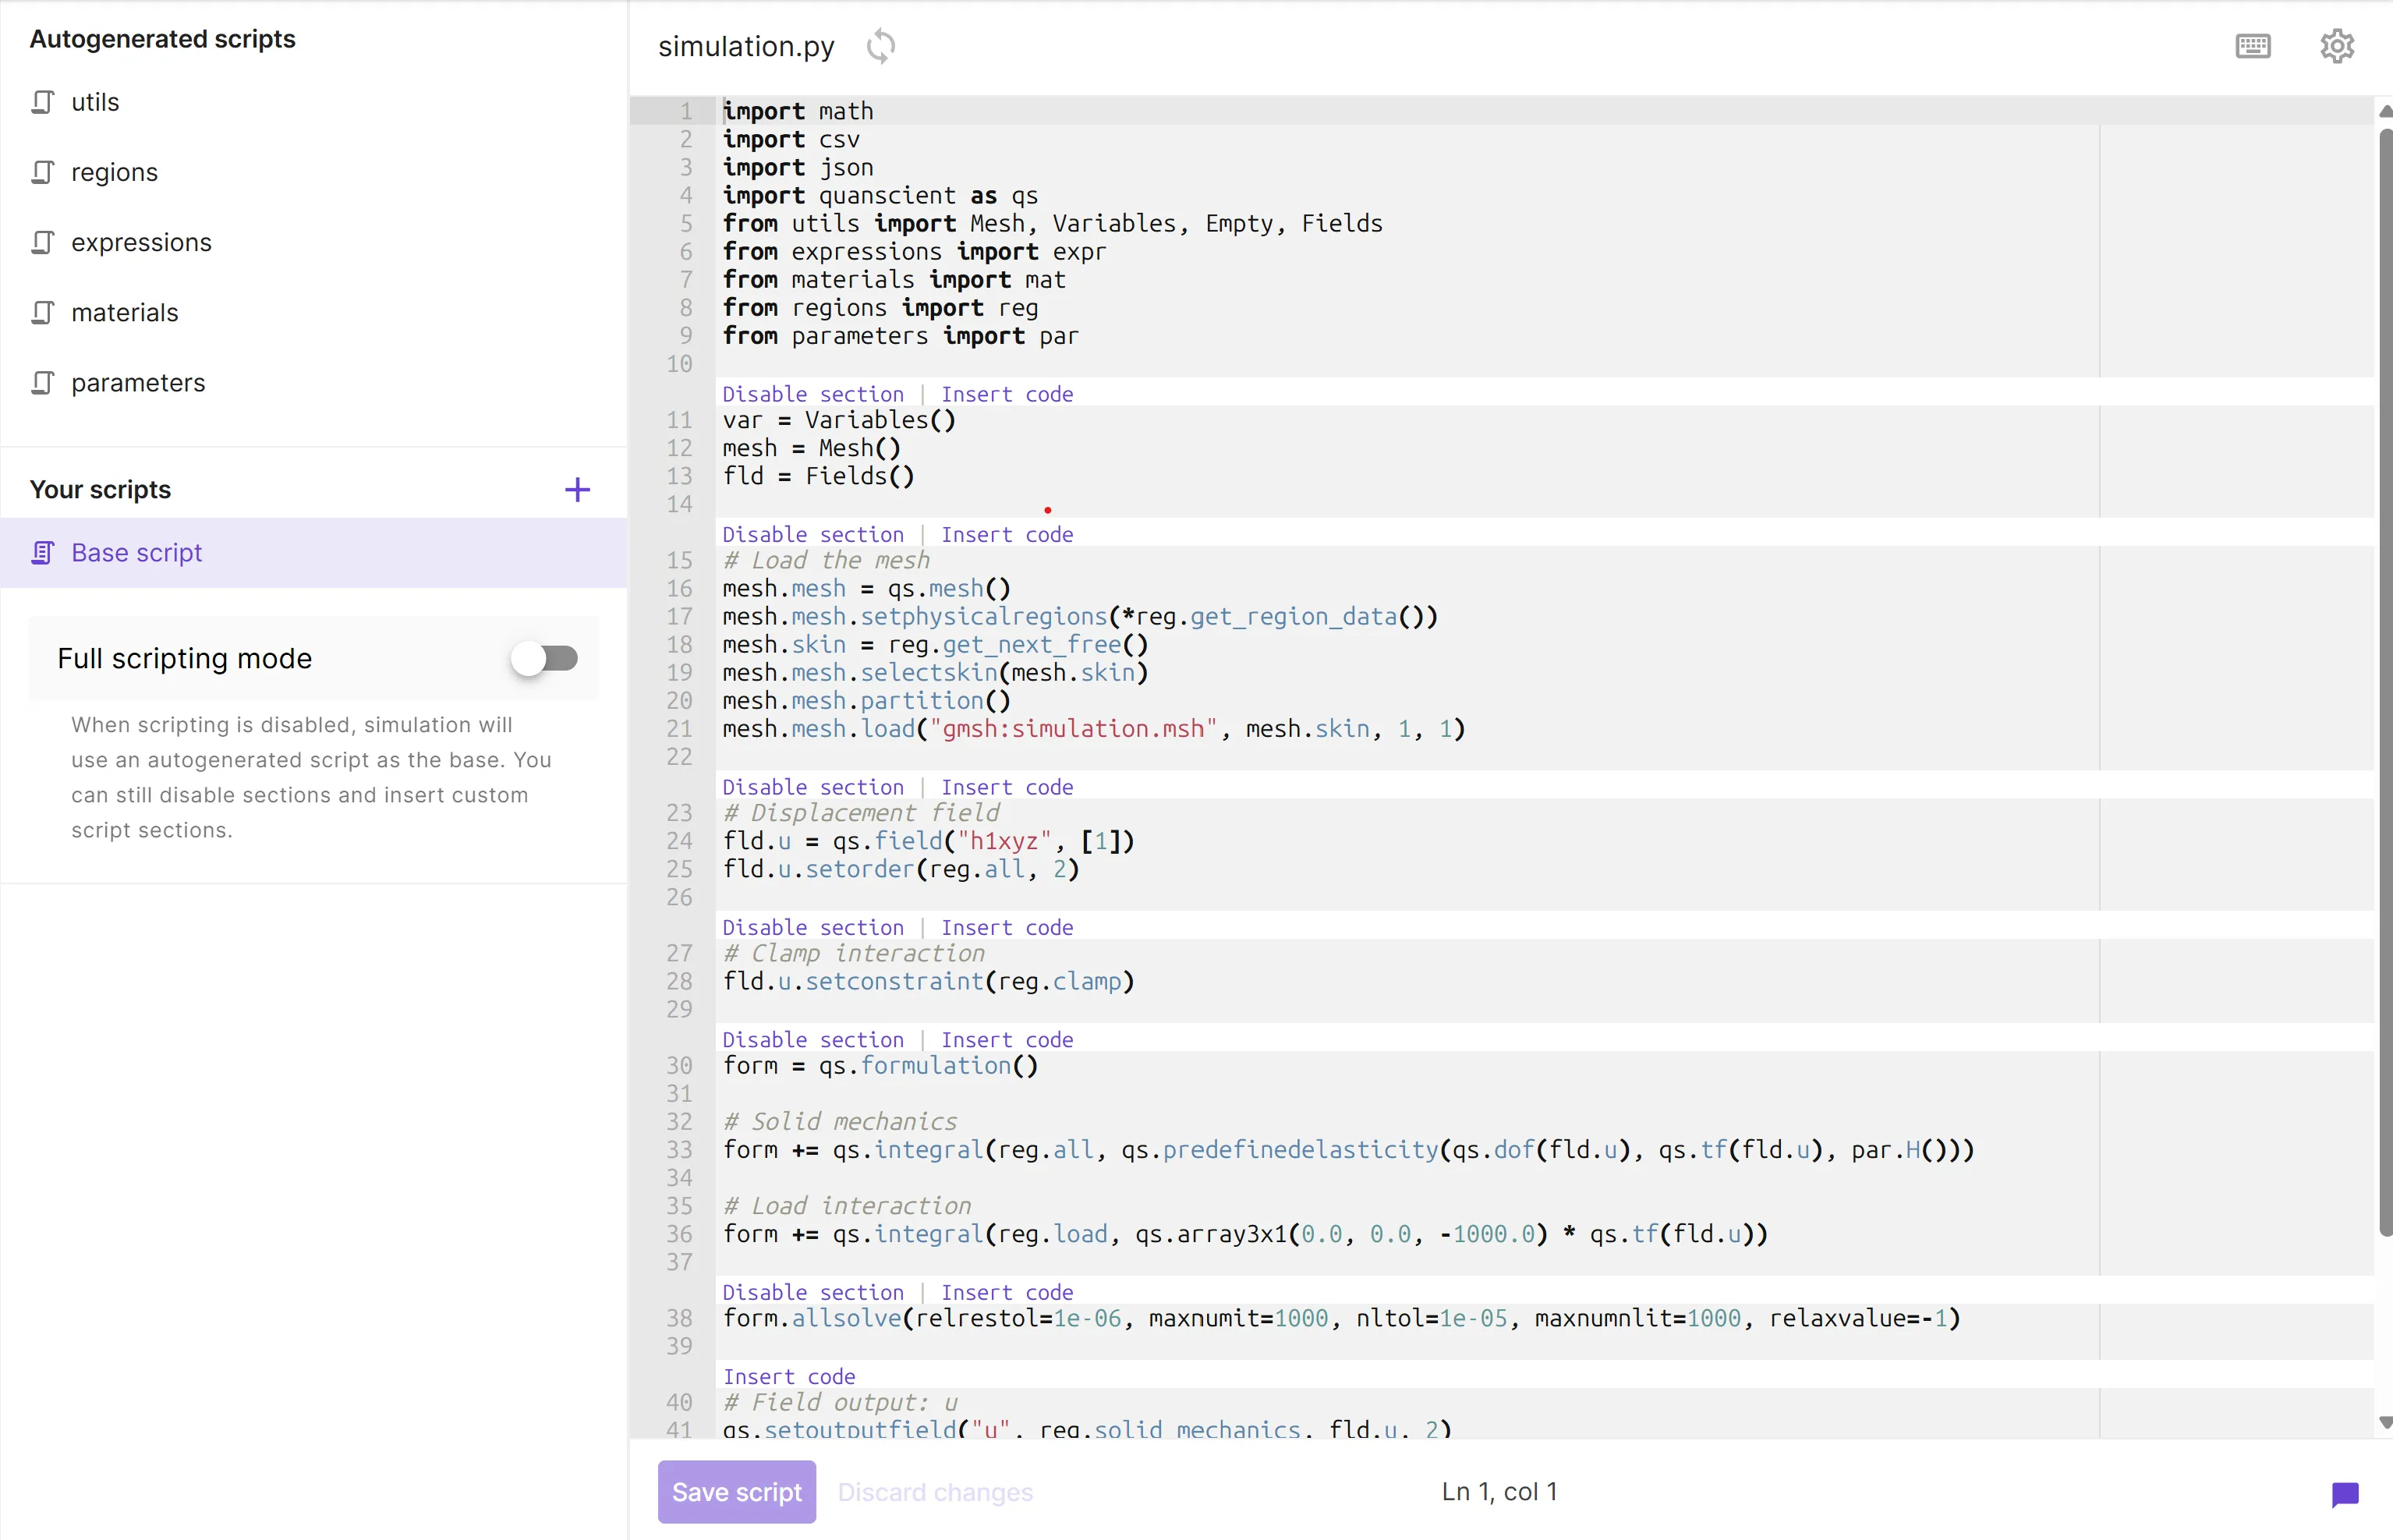
All user actions in the Allsolve GUI are reflected automatically in the simulation Script. The script files are written in Python, and are grouped as follows:
- Autogenerated scripts
- These scripts cannot be edited directly, but can be modified by changing settings in the GUI.
- Your scripts
- Switch between an autogenerated Base script (
simulation.py) with small customizations and full scripting mode for complete control over the simulation code. - Add your own new scripts or import them from the Library.
- Switch between an autogenerated Base script (
Full scripting mode
Section titled “Full scripting mode”To take full control over the simulation.py base script, turn on Full scripting mode.
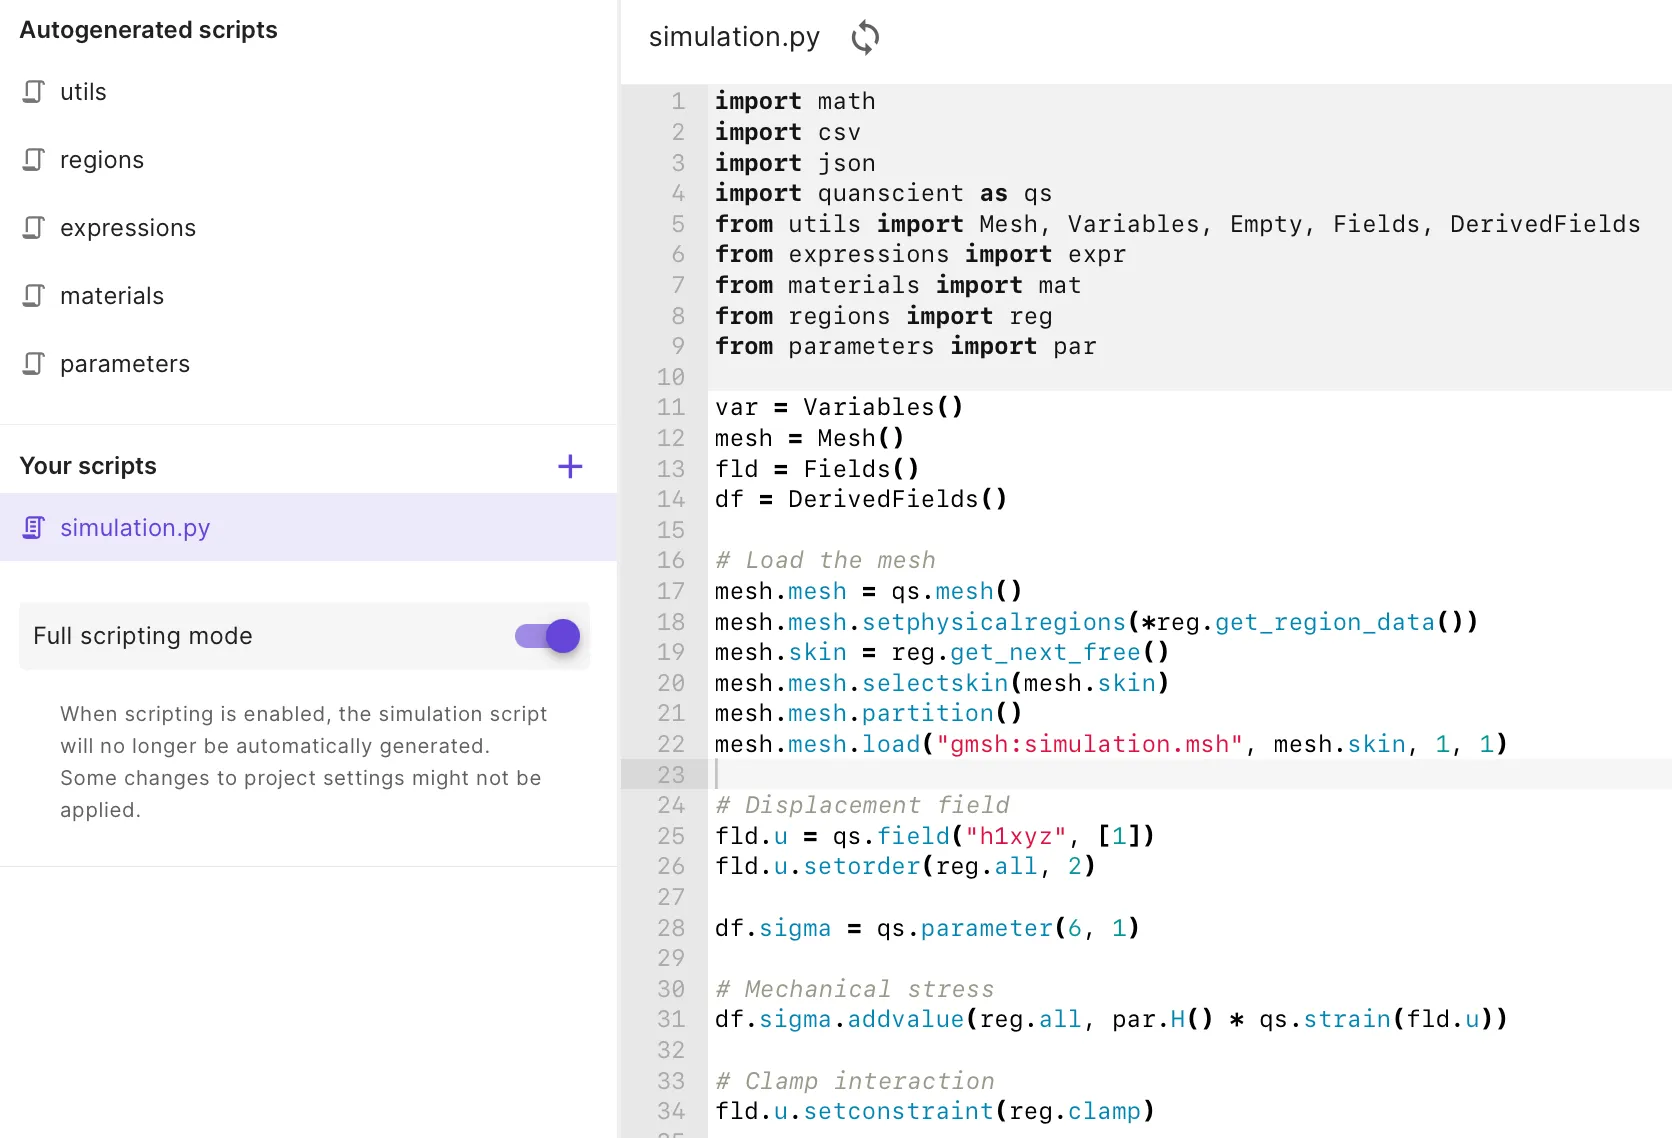
The simulation.py file is the primary entry point for the simulation and initially contains the generated physics, if any is defined in the GUI. You can also split your simulation into multiple modules by adding new files in the Your scripts section. You can also import scripts from the Library, or upload your new scripts to it.
You can disable scripting mode at any time, which discards any changes you made. To update the script with the current project state, use Refresh.
To modify an existing script, select it from the list and edit the contents as needed. To rename a script, double-click its name in the list. You cannot modify the Autogenerated scripts, but they still update when you make edits through the GUI.
Script sections
Section titled “Script sections”In autogenerated mode, you can disable code sections and add new custom sections between existing ones.
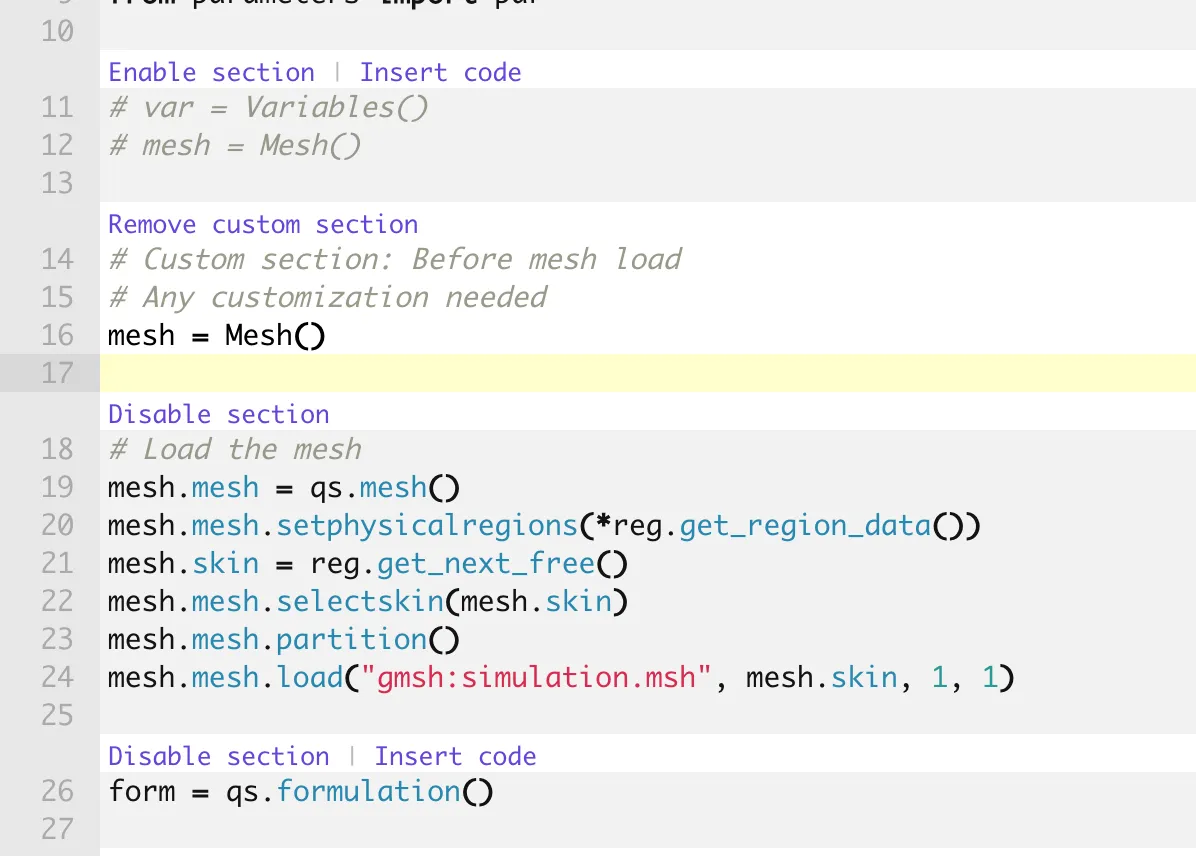
For example, you can use script sections to:
- override mesh loading
- add custom interactions not yet available in the GUI
- write complex outputs
To hide section actions, turn them off in Editor settings.
Simulation script structure
Section titled “Simulation script structure”Under Your scripts, the default base script is called simulation.py and it consists of the following code sections:
- Importing packages
- Defining utility objects
- Loading the mesh
- Defining fields
- Setting boundary conditions
- Defining physics
- Solving physics
- Setting outputs
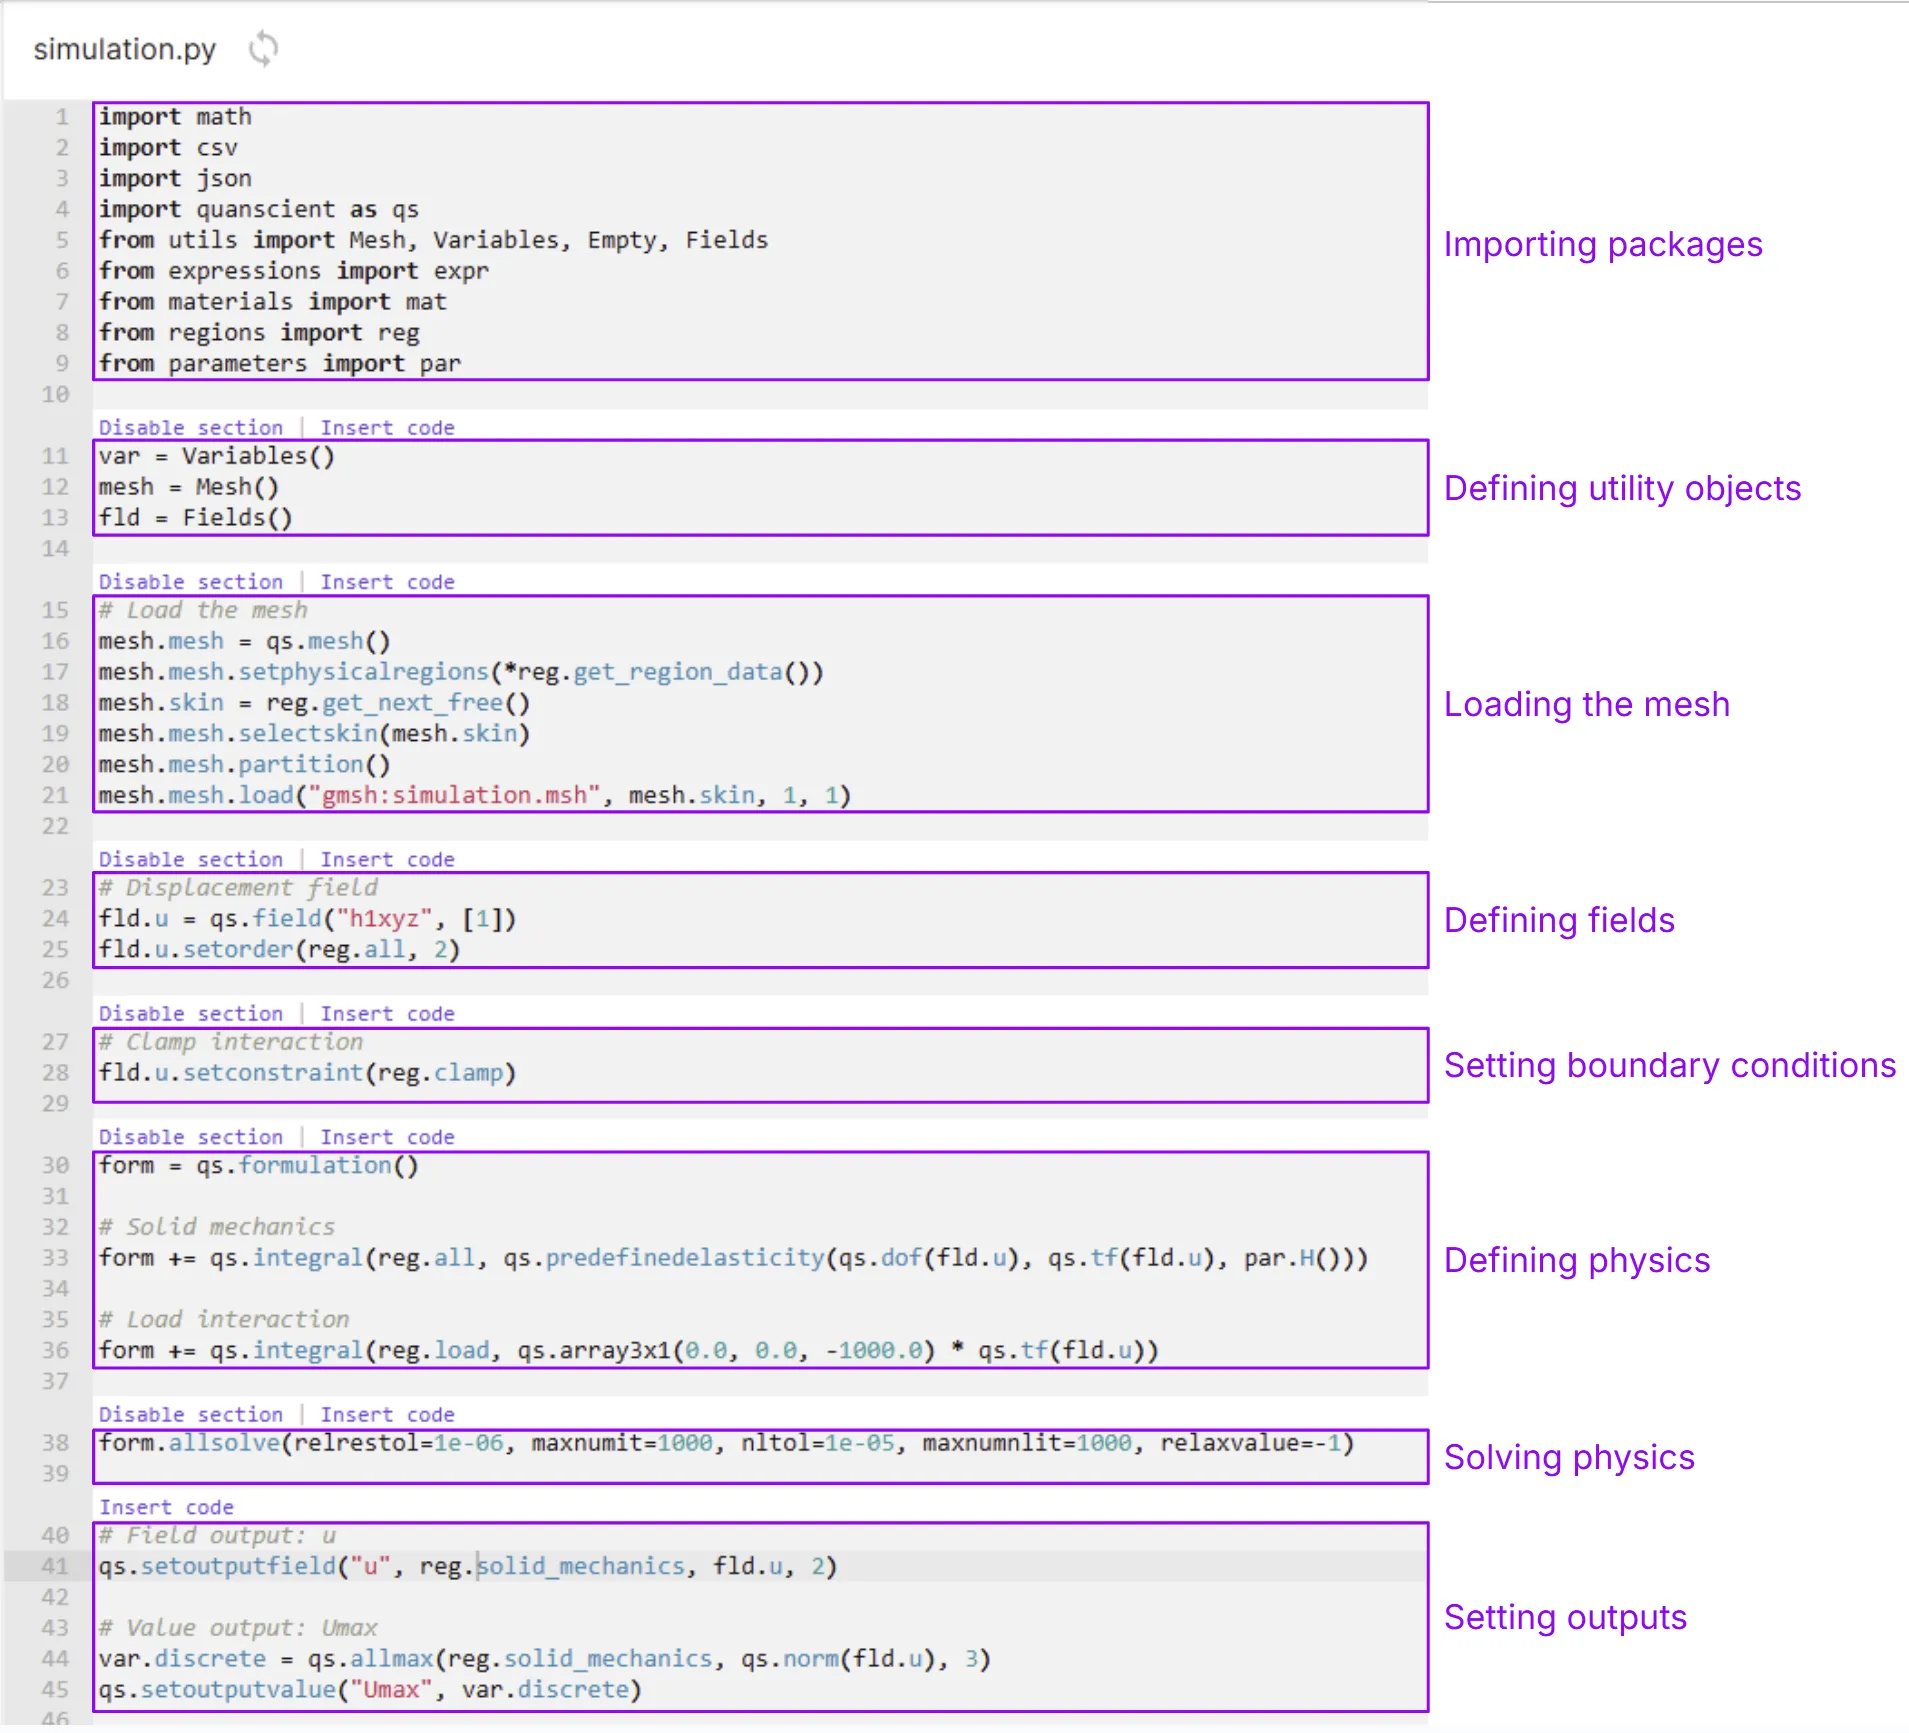
The following walkthrough uses the Cantilever beam bending step-by-step tutorial.
Importing packages
Section titled “Importing packages”Simulation scripts in Quanscient Allsolve are written in Python. The script first imports necessary packages:
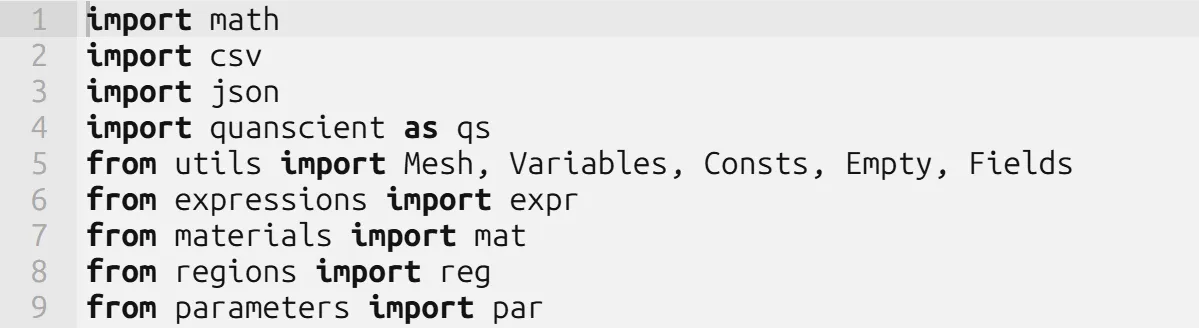
The math, csv, and json modules are general, built-in Python modules. The other imported modules are Allsolve-defined.
The core of Allsolve is the quanscient module.
Check the Script API reference for all functions and classes in this module.
You can find the remaining module definitions (utils, expression, materials, regions, and parameters) in the autogenerated scripts:
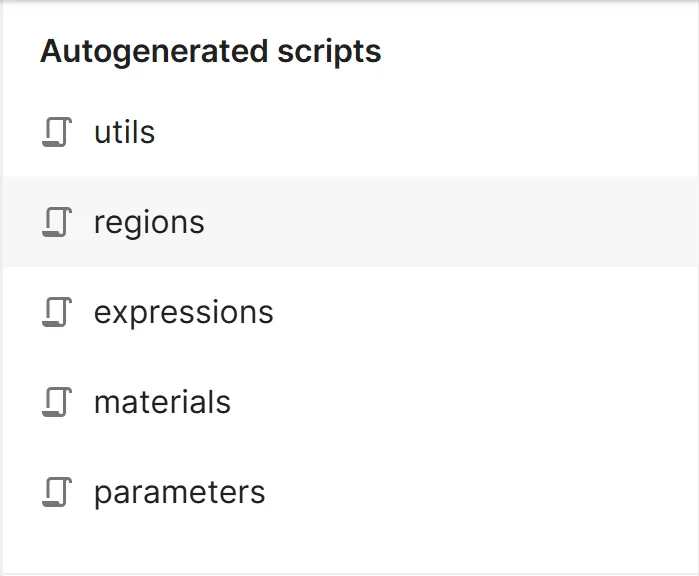
You can import additional modules such as numpy or scipy where you need it.
Defining utility objects
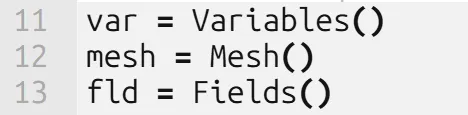
Section titled “Defining utility objects”This section defines utility objects that manage variable definitions (var), mesh handling (mesh), and field interactions (fld).
Mesh loading
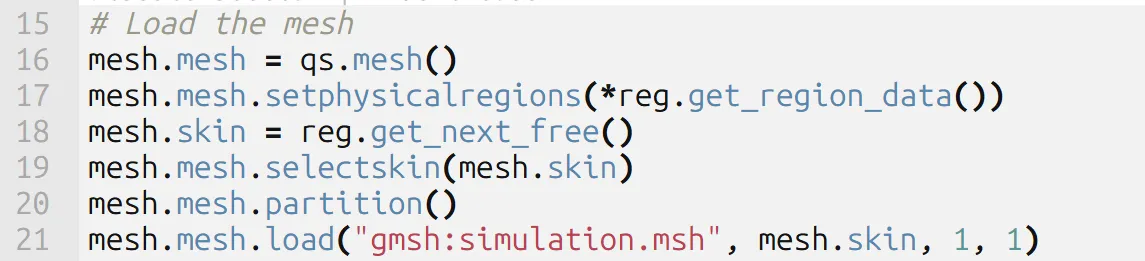
Section titled “Mesh loading”In this section, the utility object mesh is used to preprocess and load the mesh.
The mesh preprocessing usually includes creating skin regions and DDM partitioning.
Defining fields
Section titled “Defining fields”The qs.field method is used to define fields to solve.
For cantilever beam bending, the field to solve is fld.u, mechanical displacement.
After the field definition, setorder is used to set interpolation order.

Setting boundary conditions
Section titled “Setting boundary conditions”Dirichlet boundary conditions are defined here using setconstraint.

Neumann boundary conditions are defined in the following code section, physics formulation.
Defining physics
Section titled “Defining physics”The governing equation of the physics is defined by adding weak formulation terms to the form object. In this case, the load interaction is a Neumann boundary condition.

Solving physics
Section titled “Solving physics”The weak formulation of the physics is solved with the allsolve method.
The arguments passed to allsolve control convergence criteria and solver stability.

Setting outputs
Section titled “Setting outputs”After the field is solved, field outputs (in this case displacement u) are written with the setoutputfield method. The field outputs are then available under Results → Visualizations in the GUI.
Value outputs containing discrete values are written using the setoutputvalue method. Value outputs are available under Results → Summary and can be plotted in Results → Plotting.

Script editor features
Section titled “Script editor features”The script editor provides many features to aid the coding process.
Hover-over documentation
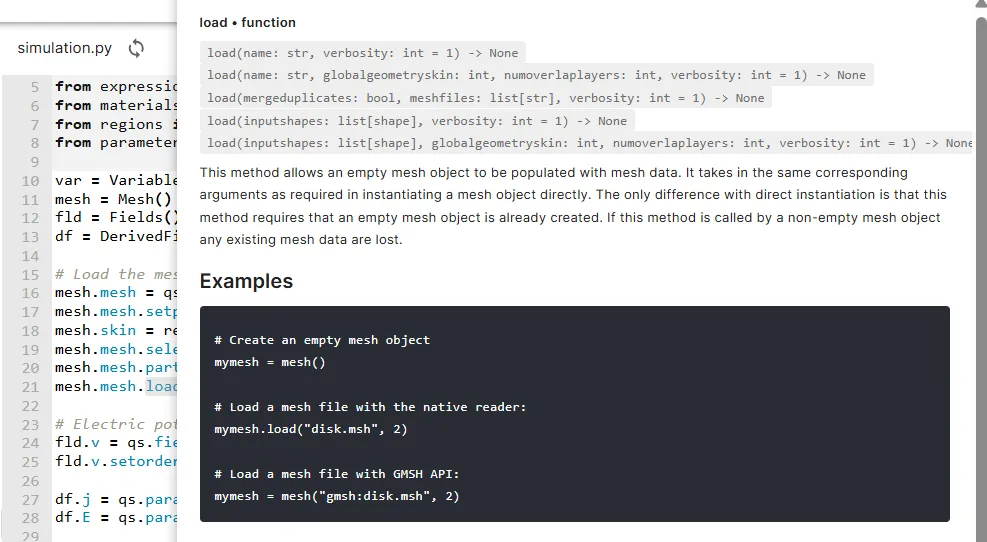
Section titled “Hover-over documentation”Hover over a function name (such as load) to see its API documentation.
Intelligent autocomplete
Section titled “Intelligent autocomplete”- Start writing a new function call, such as
qs.pre. A drop-down list appears. - Scroll down the drop-down list with arrow keys until you find the function you’re looking for.
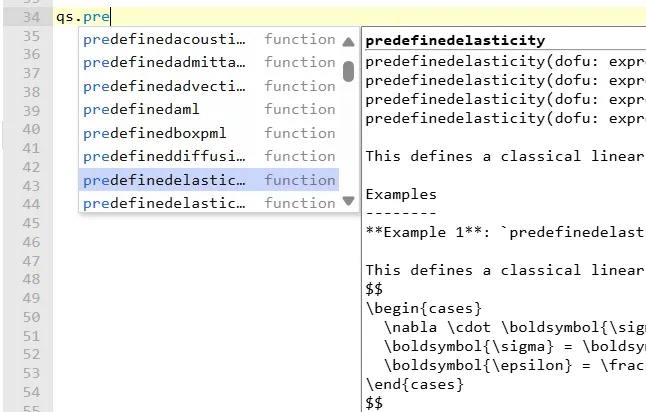
- Press Enter to autocomplete the function call.
Function parameter autocomplete
Section titled “Function parameter autocomplete”- To check possible parameters for a function, type parentheses
()after the function call. - Inside the parentheses, press Ctrl + Space or Cmd + Space to see the autocomplete options for function parameters.
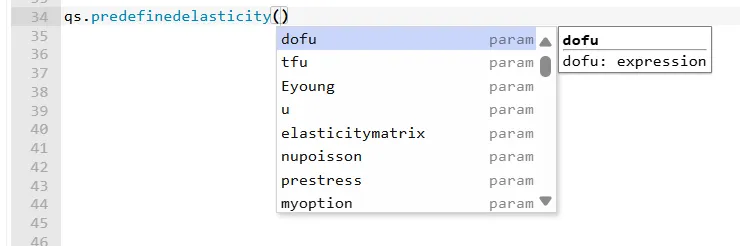
- Cycle through the options with arrow keys. Press Enter to autocomplete the highlighted parameter.
Code snippets
Section titled “Code snippets”To use a try/except snippet for error handling for example, type try. A drop-down list of snippet options appears. Use arrow keys to select a snippet and press Enter.
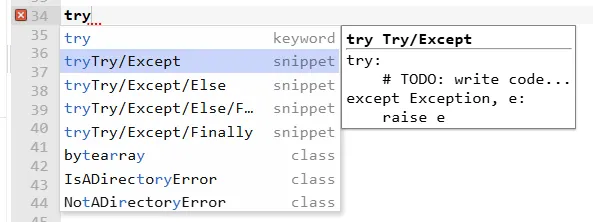
To use a transient snippet for simulating over time, type tra and press Enter.
Some snippets, such as transient, have multiple fields to complete (form, duration, timestep). Press Tab to move to the next field.

File read snippets
Section titled “File read snippets”Allsolve has specific file reading approaches for different file types:
- .msh -> mesh.mesh.load(gmsh_filename)
- .json -> json.load
- .csv -> DictReader
- Other -> data = file.read()
- Code blocks with indentation can be folded.
- Double-click a word to highlight it across the entire script.
- To search for a specific word in the script, press Ctrl + F or Cmd + F while the editor is active.
Navigate the search results with the arrow keys, or highlight all results by selecting
All.- While the search bar is active, select
+to activate Replace mode. Type the new word andReplaceone orAlloccurences.
- While the search bar is active, select
- To enable multi-cursor mode, hold Alt or Option and drag with the mouse.
- Press Ctrl + Z or Cmd + Z to undo changes.
- Press Ctrl + Shift + Z or Cmd + Shift + Z to redo undone changes.
Script library
Section titled “Script library”For saving scripts to the library and using library scripts, see Library -> Scripts.
From simulation script to simulation logs
Section titled “From simulation script to simulation logs”Use the print() function to print a variable from the script to the simulation logs.